DCS Mod Management
Jump to navigation
Jump to search
DCS mod management allows you to enable and disable mods for DCS. DCS has numerous mods that can improve gameplay significantly, but it can be difficult to manage since DCS updates, which happen frequently, will revert your mods and create a backup folder which dirties up you install directory. Using a mod manager, like OvGME, will allow you to enable and disable mods quickly and easily.
OvGME
- Download from http://www.ovoid.org/ovgme/
- Install on your PC
- Create a _MODS folder (note the underscore at the beginning) into your DCS game install folder
- Add your mods to the _MODS folder
- The top level folders will be the mod name. Then the subfolders in that mod folder are relative to the base install. So if you install a black dot labels mod, the directory structure would look like this: X:\DCS World OpenBeta\_MODS\_Black dot air labels\Config\View. In this last folder, Labels.lua would be the only file in this case, representing the actual mod file.
- I personally use _ in front of my mods that impact the overall game, and I prefix platform-specific mods with the platform name.
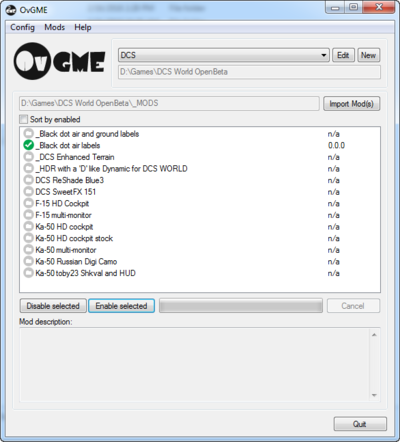
- Open OvGME
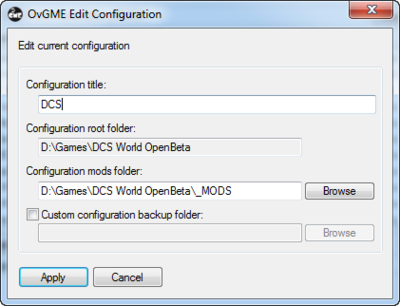
- Create a DCS mod profile in OvGME
- Set up the pathing to your mods
Enable/disable mods
- To enable a mod, select the mod profile (e.g. DCS), select a desired mod, and then press Enable. This will back-up the original files to the OvGME directory (you can change this if you want) and replace them with the contents of your selected mod.
- To disable a mod, select the mod profile (e.g. DCS), select the active mod, and then press Disable. This will restore the backed up original files and effectively remove the mod.
Pro Tip
Always disable all of your mods BEFORE a DCS update. That way, it doesn't have to create backups and it would overwrite your mods anyways.

